Introduction to Computers
Correcting the perspective
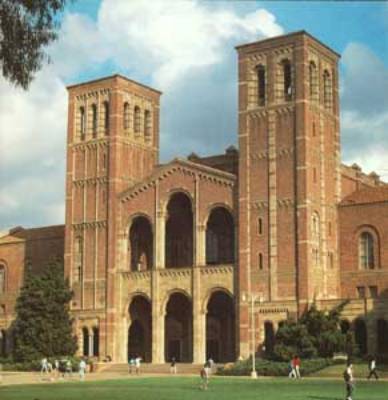
1. Capturing the images:
- Take a picture of the building, scan it and save it as .tiff or .jpg or
- If you download it from the internet it will most likely be of a .jpg format
- Take a video and capture a frame with the image of the building.
- Open the image in photoshop.
2. Editing
the Image
- Select
 to select the
part of the image you need.
to select the
part of the image you need. - Use the Image->Effects->Distort menu item.
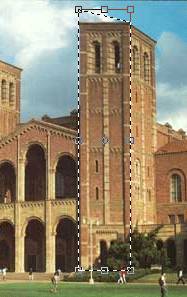
- Correct the perspective so it looks straight ahead.
- Clip
 the area of interest.
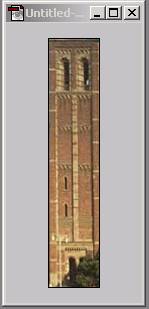
- Delete or cover annoying information such as tree branches, wires, etc. This is done my selecting the area to cover copying and pasting the selected area (Edit-> Copy and Edit->Paste) and then mirroring (Edit->Transform->Flip Horizontal)
-
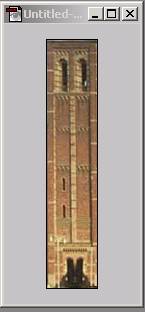
- Copying and pasting will automatically create new layers:
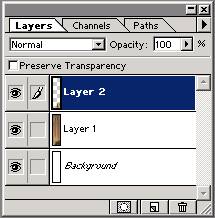
In order to save as a simple image you need to flatten the layers into one using the command (Layer->Flatten Image)
When done, save the image as .png or any other format that is useful for export/import to another program.
Notice that out of the many different formats
- Tiff is the largest size and most accurate (good for prototype archiving)
- Jpeg, gif and png are the smallest and with a decent accuracy (good for implementation)